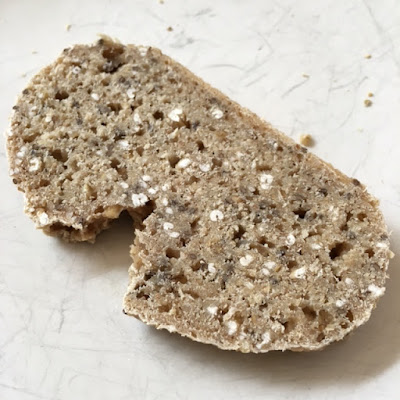
After a few days of regular feedings, the bubbling beast was ready to get to work. I made bread! Kamut flour with oat bran and whole chia seeds. Why? I don't know. It was a thing of beauty. I baked it in my cast iron dutch oven like a good little sheeple, and lovely bread was the result. Since then, I've done freeform loaves on a baking sheet, baked in an oven with a bowl of water for extra steamy goodness.
I've thrown in steel cut oats as well as oat bran, just out of curiosity. I like a bread with a bit of 'tooth' to it. Not so much that it, you know, bites back, but still.
 |
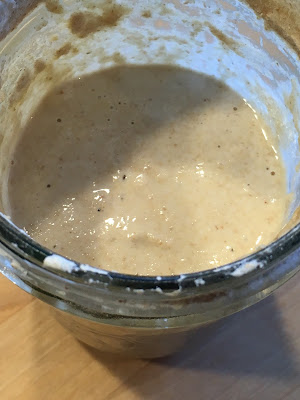
| just after feeding |
 |
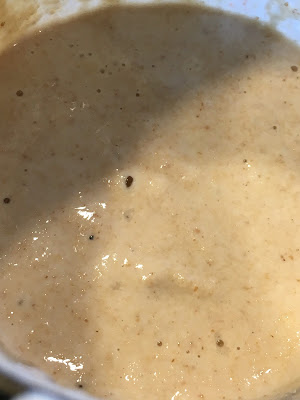
| just after feeding |
 |
| a couple of hours later -- lots of action |
 |
| fluffing up, full of bubbles -- happy starter!! |
Make your own starter:
1. in a clean glass container (like a wide mouth mason jar) combine equal weights of flour and water, and stir it into a sloppy sloopy pasty slurry. I use a kitchen scale for this endeavour. I have started using spelt flour, I have also fed it on kamut flour. I am not a white flour person. I have never been a white flour person. If you want to do yours with white flour, I bet your resulting loaf will look a lot prettier than mine.
2. mix the four and water well, and cover with a clean cloth (I use a small dishcloth, secured with an elastic. This is just me. I don't know what real bread makers do)
3. 'feed' this incipient levain with equal weights of flour and water every 12 hours. Or every 24 hours. Experiment with this. It will change the taste of your bread because frequency of feeding selects for proliferation of different organisms, some sweeter, some more sour.
4. after a week or so, your starter should smell fermenty, sweet and sour, and be bubbly and swell up in the jar. If it smells bad, or looks mouldy, throw it out and start again!
5. When the starter swells up and puffs up between feedings, you know you are good to go. Like a well roasted vegan marshmallow. Poof!!
Bake your own bread:
Here's what I'm grooving on right now:
ingredients:
1 cup HUNGRY sour dough starter -- don't have fed it since the night before
2 cups water
2 tsp sea salt
1 cup oat bran
1/4 cup whole chia seeds
3 (-ish) cups kamut flour
(I added 1 cup of steel cut oats to my last creation. In addition to the oat bran. Yes, I'm a weirdo. Like! Love!! That's just me, though. If you are a white flour person, you might like a lighter, daintier loaf.)
directions:
(I'm a big fat cheater, and no matter what anyone tells you otherwise, it's true.)
1. mix together all your ingredients, and add enough flour to get a somewhat sticky dough that holds together perfectly.
2. either place in a cast iron pot lined with parchment, close the lid and allow to rise
or
shape into loaves on a silicone baking mat, cover with parchment, cover with a wet towel, and allow to rise.
3. give it between 4 and 12 hours if possible.
I made free form loaves on a silicone mat on a baking sheet. I kind of rolled them around in oat bran. to make them look cute. It's like makeup. Not essential. Looks fetching sometimes.
I let them rise until I ran out of time. More rising is good. Some people let it rise then knead it and fold it. I'm way too lazy for extra steps. Busy. I'm way too busy, I mean.
Rise for 8 hours if possible.
******make sure you feed your residual starter now that you've harvested enough to make your bread!!!!! A hungry monster is not a happy monster. *******
bake at 345 for 1 hour if in a cast iron pot
bake at 345 for less time if you've shaped two free form loaves on a silicone mat on a baking sheet. Maybe 45 minutes!
This is what I did. But like I said, I'm a big, fat cheater. Ole!!


No comments:
Post a Comment