Welcome to my crazy world of real food cooking ...

Eat Food. Not too much. Mostly Plants. -- Michael Pollan

I wish I could take credit for that because I think it sums up how we should eat. Simply -- eat stuff that really is food, instead of stuff that is food like substance. The supermarket is almost entirely food-like-substances, and, my friends, you should probably never ever eat them.

Fortunately, there is a world of deliciousness out there, and it can all be had in a way that not only doesn't harm your health, but in a way that benefits you hugely.

I think it's important to eat stuff that satisfies you, that keeps your blood sugar stable, and that gives you stuff your body really needs to run optimally.

But baby, it's gotta taste good.

I really like getting experimental in the kitchen. I love cooking, I love layering flavours, and I love coming up with really super yummy food. I have very strong opinions about what constitutes food, and there are a lot of things I won't touch in the kitchen. Bottom line? Pretty much everything I make is ridiculously good for you even if it tastes decadent. Although there are occasional big fat cheats ... but even those stick to real food, my friends.

For food that is usual gluten free, usually free of cane sugar, usually super low on the glycemic index, full of protein, fiber, flavour, and excellent energy, join me and Alice down the rabbit hole.

Every recipe on this blog is my own original effort and idea, so please pass 'em on, giving credit where credit is due.

Many thanks, and come back often. I'm really glad you are here!

:)

Showing posts with label gluten free. Show all posts

Saturday, 18 November 2017

Gluten free bread with millet and buckwheat

This bread for me has a pretty nice flavour, as well as decent loft and texture. I've played around with different combinations of millet and sorghum, but for us right now, this millet and buckwheat combo is hitting the spot.


With non-gluten flours you can't make a kneadable dough like you do with wheat flours. You'll make a sticky, stiff batter that you'll scoop into a pan. It will rise a little, not tremendously, but adequately. My kiddo adores this toasted. I had some with almond butter yesterday and thought it was very tasty.


equipment:
loaf pan -- prepared with oil/parchment etc
mixing bowls
mixing spoon
measuring cups
measuring spoons
oven


ingredients:

a
1 1/2 cups warm water
1/4 cup coconut sugar
1 tbsp yeast

b
1 cup millet flour
1 cup buckwheat flour
1/2 cup tapioca starch
1 tsp sea salt
2 tsp xanthan gum


directions:
1. put the ingredients from part A together and combine. set aside to let the yeast proof
2. put the ingredients from part B in a bowl and mix well
3. add part A to part B and thoroughly combine
4. scoop the batter into a prepared loaf pan
5. cover and let rise for 2 hours in a warm location
6. bake uncovered at 345 for 60 minutes
7. remove from the pan and let cool before cutting


Friday, 17 November 2017

Vegan Gluten-Free Cassava Cake

You may or may not know that tapioca is a starch from cassava, and is an excellent prebiotic. Additionally, it's a delightful way to add springy texture to gluten-free baked goods. Amazing. We love it. And then I heard about cassava flour, and it's not the starch, but rather the whole cassava root dried and ground, and relatively unprocessed.  And by reputation, quite delightful.

I decided to try a very very simple cake, using mainly just millet and cassava, coconut sugar, water, and avocado oil.

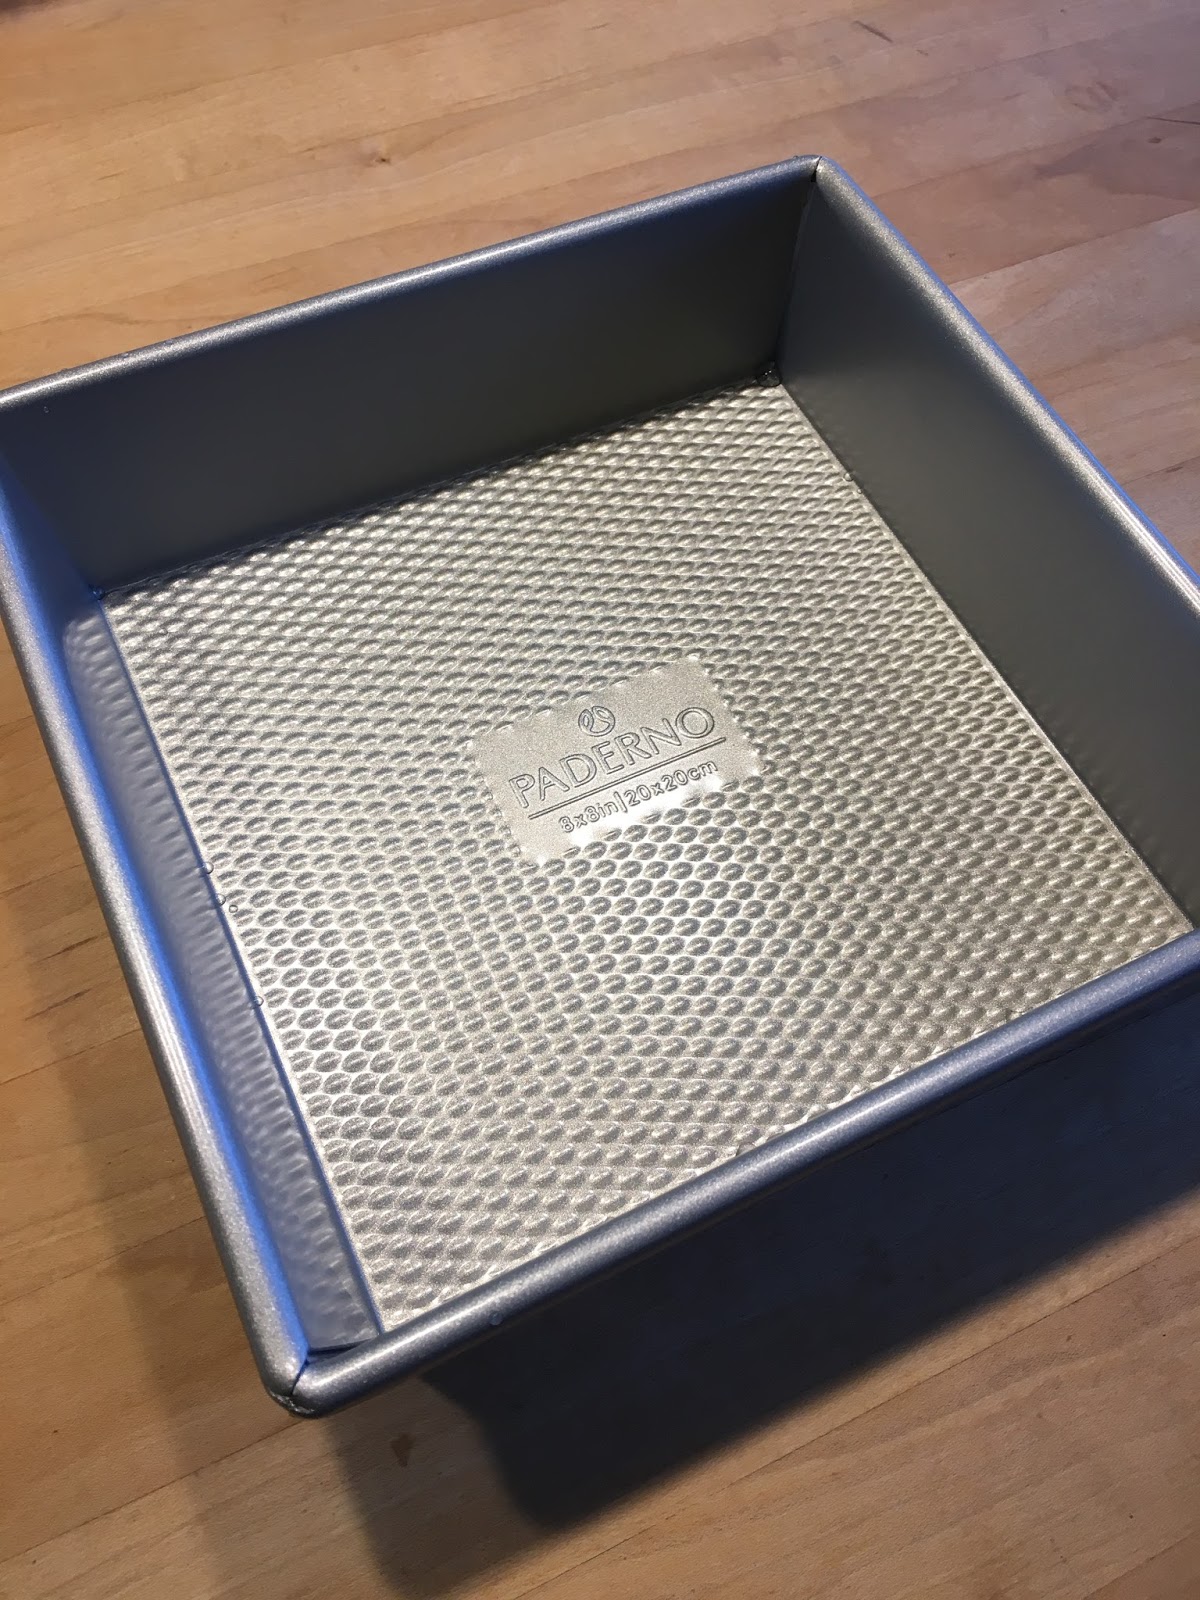
I was sent a Paderno professional 8 inch square pan by Canadian Tire to test for them for their #TestedForLifeinCanada programme, and wanted to see how it would fare on a basic gluten free vegan cake.


equipment:

measuring cups
measuring spoons
oven
mixing bowls
mixing spoon
whisk
Paderno Professional 8 inch square pan


ingredients:

A
1 cup millet flour
1 cup Otto's Cassava flour
1/2 tsp ground tonka bean
2 tsp xanthan gum
1/2 tsp sea salt
1 tsp baking soda
1 tsp cream of tartar

B
2 cups water
1/4 cup avocado oil
1 cup coconut sugar
1 tsp vanilla extract
2 tbsp apple cider vinegar

C
2 tbsp coconut sugar


directions:

1. add the dry ingredients from part A to a bowl, and stir until they are completely combined
2. add the wet ingredients from part B to a bowl, and stir with a whisk until they are completely combined
3. add part B to part A, mixing until completely combined
4. pour into a prepared pan
5. sprinkle with coconut sugar
6. bake at 345 for 45 minutes

Thursday, 2 November 2017

Basic Babycakes -- gluten free, nut-free, and vegan

These are our go to little baby cakes at the moment. They are sweet and satisfying, and depending how you dress them up, can pass for villainous or virtuous. For a hallowe'en treat, I mixed in some chocolate chips, and put a mini pumpkin-flavoured marshmallow in the middle of each one -- which oozed out of some of them like a ghostly apparition. Gluten free, nut free, and vegan, these are a simple and delightful little treat. 


p.s.a. : also good with chocolate chips!!:


equipment needed:

muffin/cupcake cups
mixing bowl
mixing spoon
measuring cups
measuring spoons
oven


ingredients:

a)
1 cup millet flour
1 cup buckwheat flour
1/2 cup tapioca starch
2 tsp xanthan gum

b)
1/2 tsp sea salt
1/2 tsp tonka bean powder
1 tsp baking soda
1 tsp cream of tartar

c)
1 cup coconut sugar
1/4 cup coconut nectar
2 tbsp apple cider vinegar
1 tsp vanilla extract

d)
1/2 cup avocado oil (melted coconut oil is also great, but cakes made with coconut oil will be harder when they come out of the fridge, and will need some time to warm up)
1 1/2 cup water

e)
1 cup of chocolate chips (Optional)

f)
24 mini marshmallows (optional)

directions:

preheat the oven to 345 degrees
1. combine the ingredients from part d and set aside
2. in a bowl, mix the ingredients from a) and b) -- thoroughly combine
3. stir c) and d) together
4. mix the wet and dry ingredients together -- I like to use a whisk
5. stir in the chocolate chips
6. scoop  a little of the batter into the silicone cupcake cups. If using, put a mini marshmallow in the centre of each, and top with more batter. If not using mini marshmallows, just divide the batter evenly between 24 cups
7. bake at 345 for 30 to 35 minutes, or until the cupcakes feel springy and a little firm when pressed gently
8. when cool, remove from the silicone cups (if using) and store in an airtight container in the fridge


makes 24 small baby cakes

Wednesday, 25 October 2017

gluten free bread V2.0 -- our simplest vegan loaf

Bread. What can I say? It's never been my jam, but I know most people love it. By most people I mean, like everyone in the world except me. Or maybe just everyone in my world. So for me going gluten free is no big. It's like here eat some nuts and seeds with your avocado and vegetables. And then my son going gluten-free (and incidentally and coincidentally a whole host of problems going away), and cue his sad sad sad face. He wants toast. He wants bread fingers to dip in his soup. He wants a pb and j sammie. Sigh.

So, gluten-free bread.

Well, version 1 was in a word terrible. The birds and squirrels didn't mind it though.

But this one, version 2, has my son's blessing. He will eat this forever for the rest of his life even if he can ever eat gluten again. This one is so good he'll eat it everyday. Toasted, souped, sammied ... you name it. His sad face has gone gone gone.

Yay!!


equipment needed:

oven
prepared loaf pan
mixing bowls
mixing spoon
measuring cup
measuring spoon


ingredients:

a)
1 cup sorghum flour
1 cup buckwheat flour
1/2 cup tapioca starch
2 tsp xanthan gum
1 tsp sea salt
1 tbsp psyllium husk

b)
1 1/2 cups water 
1/4 cup coconut sugar
1 tbsp bread yeast


directions:
1. combine b) and set aside
2. in a larger bowl, mix together all the ingredients from a). You'll want to make sure they are very very well distributed. There are some magical ingredients in here that won't mix well if they are clumped together when water is added.
3. add part b) to part a) and stir quickly and efficient until completely combined
4. scoop into a prepared loaf pan, and smooth the top
5. let rise covered for 1 1/2 to 2 hours
6. bake at 345 degrees for 1 hour
7. turn out onto a cooling rack
8. when fully cool, store in an airtight package in the fridge


gluten free bread v 4.0

My son is a bread lover. And because of a variety of health issues, he has had to go gluten-free, to his chagrin. However, this rather credible loaf makes things a little easier. This is version 4, and it's got a wonderful texture. He also loves version 2. This one has chia, which makes this bread a little more suitable for use by people who have blood sugar issues. This bread dough doesn't have the same texture as gluten-containing bread. You have to scoop it into the bread pan as a sticky mass instead of as a clammy, well-behave dough ball. However, it rises well enough to become nicely spongey, and developed a pleasing crust when baked. The taste is enjoyable, and it toasts up beautifully. Finally, it mixes up in just a few minutes, and is very easy to make.


equipment needed:

oven
loaf pan

ingredients:

a)
1 1/2 cups warm water
1/4 cup coconut sugar
1 tbsp bread yeast

b)
1 cup sorghum flour
1 1/4 cup buckwheat flour
1/2 cup tapioca starch
1/4 cup ground chia seeds

c)
1 1/2 tsp sea salt
2 tsp xanthan gum
1 tbsp psyllium husk powder


directions:

1. combine the ingredients from a) and set aside
2. in a larger bowl, combine b) and c), and mix until completely and evenly dispersed
3. when a) has foamed up, add it to the mixture of b) and c), and mix quickly and well
4. put the resulting stiff batter into a prepared loaf pan, and smooth the top of it
5. cover it and let it rise for 1 1/2 or 2 hours
6. bake at 345 for 1 hour
7. turn out of the baking pan and let cool on a rack
8 when fully cool, store in an airtight package in the fridge.

Chocolate Monkey Cookie Bars -- delicious vegan, gluten free, and nut free banana and chocolate treats

There's no such thing as a bad banana in this house. My fellas both love eating them, but if they ever hang around too long, they can fulfill their destiny as delicious cookie bars.

These are nutritionally dense, full only of high octane fuel. I like to throw a couple of these in my son's lunch box because with all the excellent ingredients, I know they'll help him power through the day at school. Additionally, they taste great, so he looks forward to them.


equipment needed:

oven
2 8x8 square baking dishes -- (I like silicone but if you don't use silicone, make sure you prepare it well so the batter doesn't stick)
mixing bowl
mixing spoon
seed grinder for chia or buy already ground
measuring cups
measuring spoons


ingredients:

a)
2 cups mashed overripe banana
1/2 cup date sugar
1 tbsp apple cider vinegar
1/2 tsp vanilla extract

b)
1 tsp xanthan gum
1/2 tsp ground tonka bean (optional!)
1 tsp cream of tartar
1 tsp baking soda
1/2 tsp sea salt

c)
1/4 cup raw cacao
1/4 cup tapioca starch or green banana flour
1/4 cup ground chia

d)
2 cups shredded coconut

e)
1 cup fair trade chocolate chips


directions:

1. preheat the oven to 345
2. combine the ingredients from part a) -- you may want to use a whisk
3. whisk in the ingredients from part b)
4. whisk in the ingredients from part c)
5. stir in the shredded coconut
6 stir in the chocolate chips
7. divide evenly between prepared 2 square pans (or use a big rectangle one!)
8. bake at 345 for 45 minutes or until they are done
9. score into bars while they are in the pan, allow to cool, and then remove.
10. Store in an airtight container in the fridge


Sunday, 6 August 2017

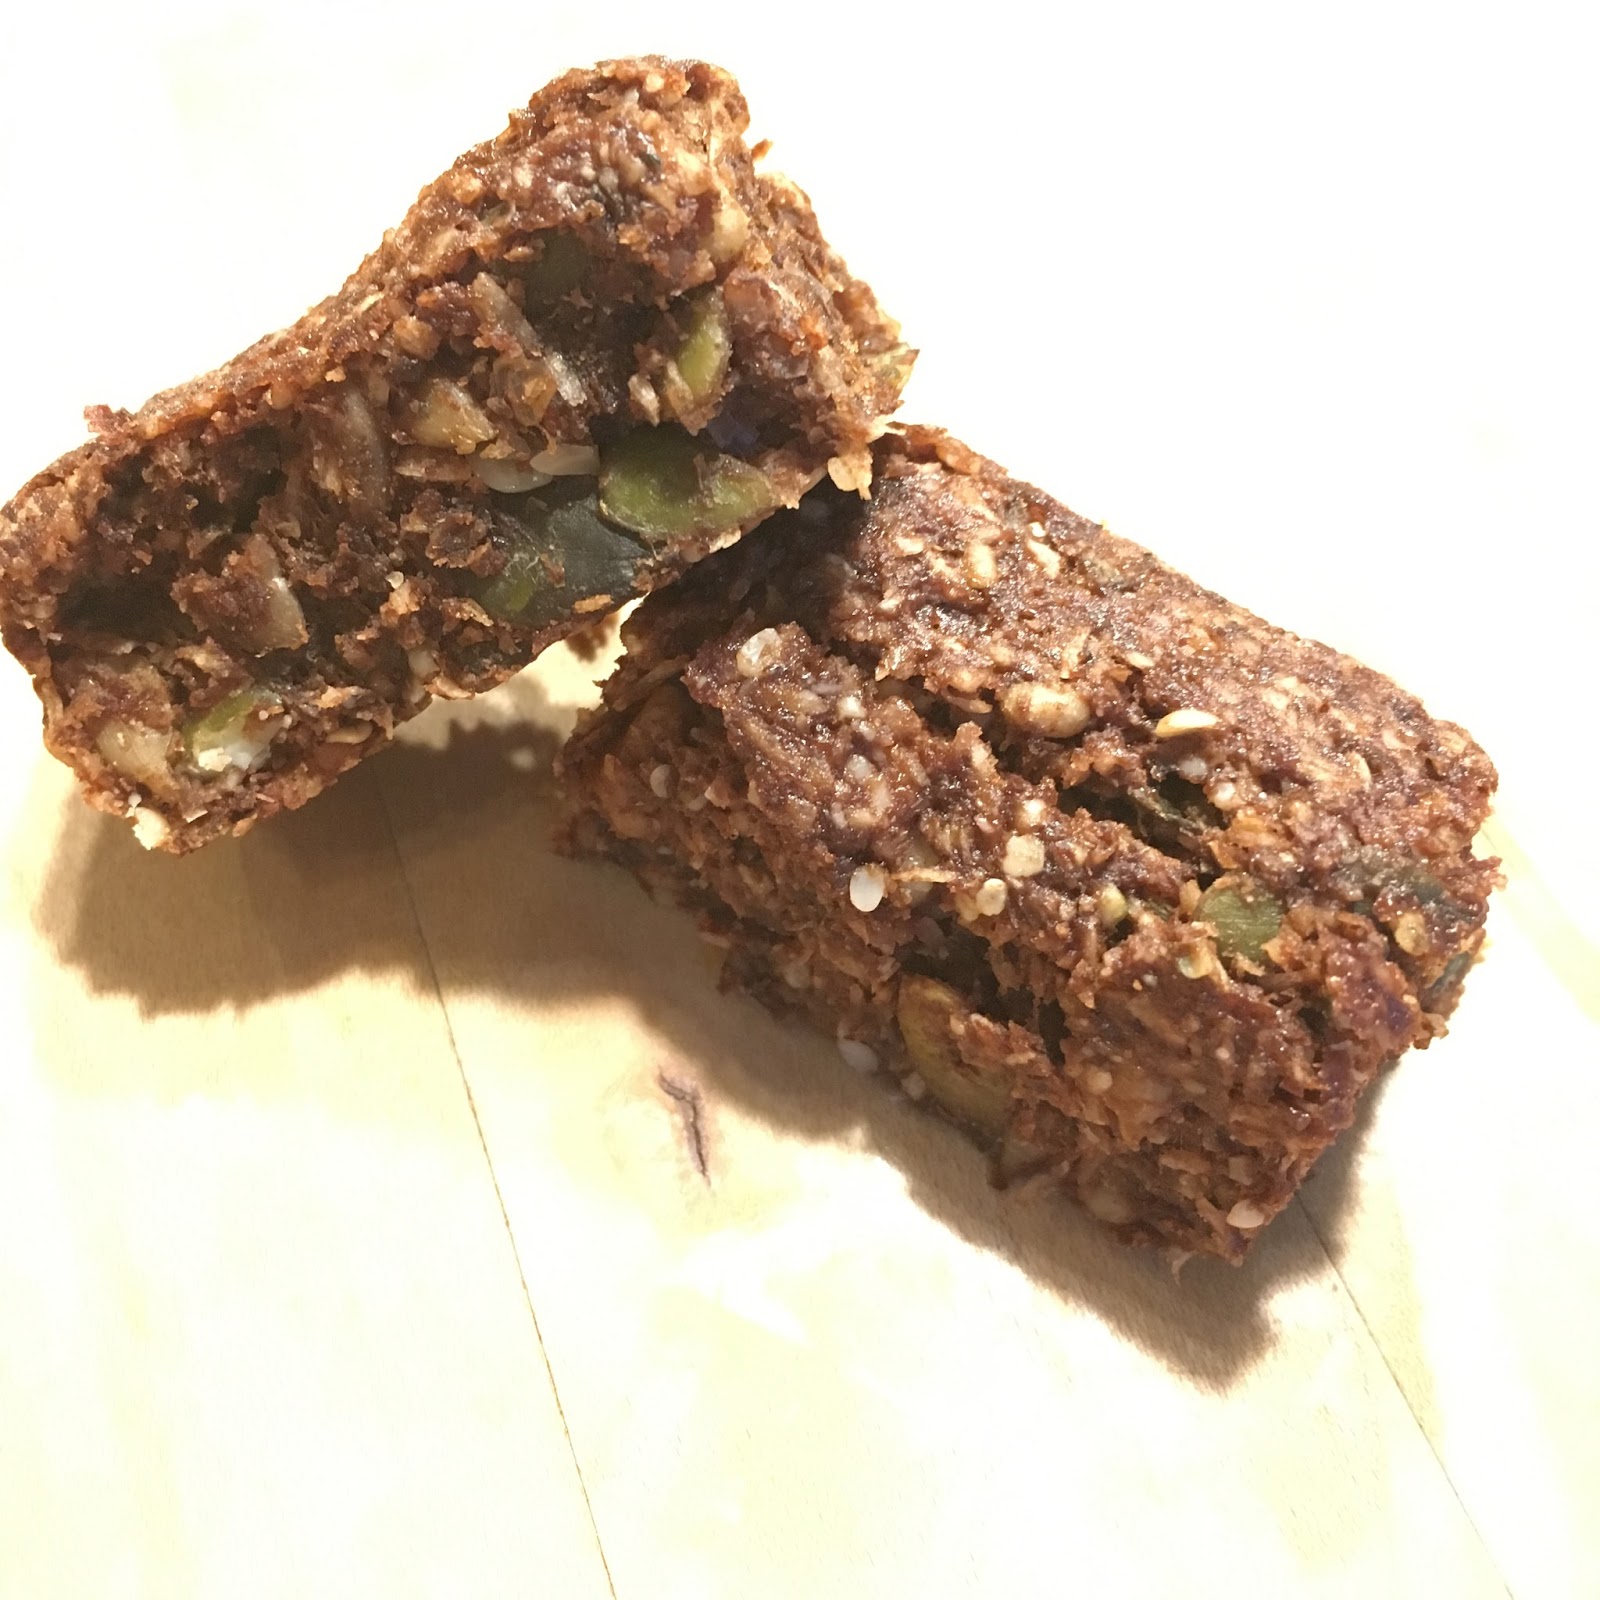
"granola" bars -- gluten free, grain free, sugar free, low inflammatory vegan snacks

Both a friend of mine and I are struggling with auto-immune diseases right now. In an effort to reduce  grain proteins, starches, and sugars in an effort to decrease our inflammatory load, I came up with these awesome bites. Soaking the seeds and nuts before using helps that too!!


equipment needed:
mixing bowl
mixing spoon
measuring cups
measuring spoon
coffee or seed grinder
oven
square pans -- I like silicone pans -- 8 inch x 2 (and place the silicone on a metal baking sheet for stability)
metal spatula (for cutting the bars after
(or a knife and cutting board)


ingredients:
1/2 cup coconut butter
1 cup xylitol
1/2 cup boiling water
1 tbsp apple cider vinegar

1 tbsp psyllium powder
1/4 cup green banana flour
1/4 cup ground chia seeds
1 cup almond flour
1/2 tsp xanthan gum

1 tsp baking soda
1 tsp cream of tartar
1/2 tsp sea salt
1/2 tsp tonka bean power

(optional 2 tbsp cacao powder)


1/2 cup hemp hearts
2 cups shredded coconut
1/2 cup pumpkin seeds
1/2 cup sunflower seeds
1 cup walnut pieces


345 for 40 to 45 minutes

Saturday, 8 July 2017

*** Really Good Cake -- Simple Cake -- gluten free vegan cake

This cake is amazing. It's a wonderfully spongey, simple, tasty, moist, delicious cake. Goooooooood cake. Really good cake.

Buckwheat flour tends to have a particular and strong flavour, and I am usually loathe to use it outside of very specific applications.  However, the ingredients in this cake balance it all perfectly and there is nothing about this cake that isn't just delicious. It's just ... lovely.

Don't bother me I'm imagining it with fresh strawberries that have been sliced and stirred together with a touch of maple syrup and a pinch of sea salt, all spooned over top, releasing all their secrets ...

Sorry, what did I miss?

Anyway, this cake is just a perfect spongey lovely cake. I can't wait to make it again.


equipment needed:

square silicone cake pan
mixing bowl
mixing spoon
measuring cups
measuring spoons
oven


ingredients:

a)
1 cup millet flour
1 cup buckwheat flour
1/2 cup tapioca starch
1 tsp xanthan gum

b)
1/2 tsp sea salt
1/2 tsp tonka bean powder
1 tsp baking soda
1 tsp cream of tartar

c)
1 cup coconut sugar
1/4 cup coconut nectar
2 tbsp apple cider vinegar
1 tsp vanilla extract

d)
1/2 cup coconut oil
1 1/2 cup warm water


directions:

preheat the oven to 345 degrees
1. combine the ingredients from part d and set aside
2. in a bowl, mix the ingredients from a) and b) -- thoroughly combine
3. stir c) and d) together
4. mix the wet and dry ingredients together -- I like to use a whisk
5. pour the batter into the silicone pan and bake at 345 for 45 minutes
(or bake as individual cupcakes for about 35 minutes)


45 minutes 345 degrees

Sunday, 11 June 2017

Black Bean Brownies Bigger Better Faster -- gluten free goodness

Welcome to the dark side, friends. A place where the perfect brownie is made with black bean flour. A place where the perfect brownie is a dense, fudgey square of cake filled with chocolate, flavour, and deliciousness. A place where brownie lover go to give up their 'I hate gluten-free baking' card. These brownies use black bean flour instead of black beans themselves, and are  a perfect cake texture -- dense but not gummy. Fluffy but not light. I mean, a brownie has got to have substance. This is no angel cake, dears. Far too ... naughty ... for that. It really doesn't get better than this.

One caveat -- they are best when baked 1 day before you need them. Why? I don't know. It's just the way it is.


equipment needed:

mixing bowl
mixing spoon
measuring cups
measuring spoons
square baking dish (I used silicone but glass is good too -- just make sure you grease it well with coconut oil and maybe line the bottom with parchment)
a grinder for the chia seeds if you buy whole and grind them yourself (or buy ground chia)
oven (obvi)


ingredients:

a)
1 cup black bean flour
1 1/4 cup coconut sugar   (or as an alt: 1 cup xylitol + 1/4 cup coconut sugar +1/4 cup date sugar)
1/2 cup date sugar
1/2 cup raw cacao

b)
1/4 cup ground chia seed
1/2 cup tapioca starch
1 tsp baking soda
2 tsp cream of tartar
1/2 tsp sea salt
1/2 tsp ground vanilla bean or 1/2 tsp tonka bean powder
1 tsp xanthan gum (stabilizer)

c)
 1 cup warm water + 2 tbsp coconut oil
1 cup cold water (total water is 2 cups)
1 tsp vanilla extract
1 tbsp apple cider vinegar

d)
1 cup chocolate chips -- fair trade, please

e)
2 tbsp coconut sugar to sprinkle on top


directions:

preheat oven to 345 and prepare your baking pan!!

1. combine 1 cup warm water and 2 tbsp coconut oil and let it melt
2. in a large mixing bowl, combine all the ingredients from parts a) and b) and stir until completely homogeneous.
3. in a small mixing bowl, combine all the ingredients from part c)
4. combine all of the above, and mix well
5. once the ingredients from a) b) and c) have been righteously integrated, stir in your chocolate chips (part d)
6. pour the batter into the baking pan, and make sure it's smooth and even
7. sprinkle the top of the batter with  the coconut sugar from part e)
8. bake at 345 for 40-45 minutes
9. Cool and then enjoy the NEXT DAY

seriously.

my husband eats them right away, and says they are great, but even he agrees they are BETTER the next day.


MAKE AHEAD MAKE AHEAD MAKE AHEAD

this is not a recipe for immediate gratification.

Sunday, 30 April 2017

chickpea flour crackers *

Savoury crunchy little crackers, made with chickpea flour? Yes please. Simple and delicious.


equipment needed:

2 silicone baking mats or 2 pieces of parchment
2 baking sheets
rolling pin
mixing bowl
fork
mixing spoon
measuring cups
measuring spoons
oven


ingredients:

a)
1 1/2 cups chickpea flour
1/2 tapioca starch

b)
1/2 tsp sea salt
1 tsp baking soda
1/2 tsp xanthan gum powder
1 tbsp chili powder
1 tbsp mesquite
2 tbsp coconut sugar

c)
1/2 cup coconut oil

d)
1/2 cup water
2 tbsp apple cider vinegar

e)
2 tbsp coconut flour if needed

f)
sprinkle salt on top and bake


directions:

1. mix the dry ingredients together very well (a and b)
2. use a fork to mix in the coconut oil (c)
3. pour in the water and apple cider vinegar and mix well (d)
4. add coconut flour if too sticky (e)
5. roll out on 2 silicone mats using a piece of parchment to keep the rolling pin from sticking
6. using a butter knife, score it into squares, and sprinkle with sea salt
7. bake at 345 for 20 minutes
8. dehydrate further in the oven on 170 for a few hours for very crisp crunchy little crackers
9. store in an airtight container when fully cool

Thursday, 20 April 2017

Buckwheat Muffins with Hemp hearts and Ginger **

Buckwheat is one of those tricky flours. The texture makes  for spongey, cohesive baked goods, but the flavour can be strident with certain other flavours. Cinnamon and buckwheat are not a harmonious combination for me. However, vanilla and maple can make buckwheat purr.

Here I was inspired to add a hint of ginger to the mix, and I find it pleasing. We've done these muffins without the ginger, and they are exceptionally yummy. Definitely one of our favourites.

These muffins have just a handful of ingredients, mix up in about 5 minutes, and bake in 30. Definitely an easy recipe to make. The part that takes the longest is scooping the batter into the muffin cups.


equipment needed:
mixing bowl
measuring cups
measuring spoons
mixing spoon
muffin cups (I use silicone muffin cups on a rectangular baking sheet)
oven


ingredients:

a)
1 cup coconut sugar
2 cups buckwheat flour
1/2 cup tapioca starch

b)
1/2 tsp sea salt
1 tsp ground ginger
1 tsp baking soda

c)
2 cups water
1 tsp vanilla extract
2 tbsp apple cider vinegar

d)
1 cup hemp hearts


1. combine dry ingredients (a and b)
2. add water, vanilla and vinegar, and whisk
3. add hemp hearts
4. scoop into 24 muffin cups
5. bake at 345 for 30 minutes

Monday, 28 November 2016

Because I cracked the Black Bean Brownie Code

Friends, lovely cake loving friends, I have news. Okay, so I already spilled the proverbial and literal beans in the title of this recipe, but I've never been one to keep good news to myself. Friends, it's true. I have cracked the black bean brownie code, and it is more beautiful than you could have imagined.

Picture this:

a brownie.


Yep.

That kind of moist and a little dense and fudgey brownie that makes you do a little dance and say oh yes oh god oh yes oh thank god. You know the kind. Of course you should know better than to talk with your mouth full but you will for realsies be forgiven because this is that good.

I've seen black bean brownie recipes kicking around here and there and they looked unappealing. I have to confess that one of my favourite baking flours for a little while was chickpea flour. So versatile.

My secret in these brownies: I don't use a can of black beans. I use black bean flour.

Nothing to puree. Nothing to blend. Just measure, mix, and go. Simple. And the texture is not gummy or dense. It's perfection. So there you have it.

A nut-free, vegan, gluten-free, perfect brownie that tastes just right.

OH, one small quirk: it taste better the next day. So, bake it, cool it, and refrigerate it over night. Then: eat. So. Good.


equipment needed:

mixing bowl
mixing spoon
measuring cups
measuring spoons
square baking dish (I used silicone but glass is good too -- just make sure you grease it well with coconut oil and maybe line the bottom with parchment)
a grinder for the chia seeds if you buy whole and grind them yourself (or buy ground chia)
oven (obvi)


ingredients:

a)
1 cup black bean flour
1 1/4 cup coconut sugar   (or as an alt: 1 cup xylitol + 1/4 cup coconut sugar +1/4 cup date sugar)
1/2 cup date sugar
1/2 cup raw cacao

b)
1/4 cup ground chia seed
1/2 cup tapioca starch
1 tsp baking soda
2 tsp cream of tartar
1/2 tsp sea salt
1/2 tsp ground vanilla bean

c)
 1 cup warm water + 2 tbsp coconut oil
1 cup cold water (total water is 2 cups)
1 tsp vanilla extract
1 tbsp apple cider vinegar

d)
1 cup chocolate chips -- fair trade, please

e)
plus either 2 tbsp chocolate chips or 2 tbsp coconut sugar to sprinkle on top


directions:

preheat oven to 345 and prepare your baking pan!!

1. combine 1 cup warm water and 2 tbsp coconut oil and let it melt
2. in a large mixing bowl, combine all the ingredients from parts a) and b) and stir until completely homogeneous.
3. in a small mixing bowl, combine all the ingredients from part c)
4. combine all of the above, and mix well
5. once the ingredients from a) b) and c) have been righteously integrated, stir in your chocolate chips (part d)
6. pour the batter into the baking pan, and make sure it's smooth and even
7. sprinkle the top of the batter with either the chocolate chips or the coconut sugar from part e)
8. bake at 345 for 40-45 minutes
9. Cool and then enjoy the NEXT DAY

seriously.

my husband eats them right away, and says they are great, but even he agrees they are BETTER the next day.


MAKE AHEAD MAKE AHEAD MAKE AHEAD

this is not a recipe for immediate gratification.


Sunday, 9 October 2016

pea crackerrrrrsssss

For realsies, these are one of my favourite nibbles. I just love that green pea flavour! These ones are so savoury and yummy, too. I've made them with just salt and pepper, and those are amazing, no joke.

Crackers are so easy to make at home. The secret is to score them before baking, and if they don't end up crisp enough, dehydrate them extra after you finish baking on a heat that is too low to brown them more but will drive out the moisture.

Totally fine for school, totally tasty for kids.


equipment needed:
2 silicone mats or baking parchment
2 baking sheets
rolling pin
mixing bowl
mixing spoon
measuring cups
measuring spoons


ingredients:

2 cups pea flour
1/2 cup tapioca starch

3/4 tsp sea salt
1 tsp chili powder
2 tbsp nutritional yeast
1 tbsp mesquite

1/2 tsp baking soda
1 tsp cream of tartar


1/4 cup coconut oil

1/2 cup water (a couple tbsp more)
1 tbsp apple cider vinegar


salt to sprinkle on top (optional)

directions:

preheat the oven to 345

1. combine dry ingredients, then work the coconut oil in using a fork
2. add water and vinegar and mix into dough
3. divide the dough into two pieces
4. roll out each piece onto a silicone baking mat, by covering the dough with a piece of parchment,
5. score into cracker shapes, and sprinkle with salt
6.bake at 345 for 20 minutes

crackerrrrrrs


I love crackers. Crunchy, savoury little nibbles. My fave are the ones made with green pea flour. This are also awesome. Almond flour, coconut flour, and pea flour. You know what that means? Means they are good for you.

These ones are no good for school (obvi) but they sure taste good for a snack at home. Or have a small handful with an apple for a quicky lunch. I love chili powder more than I should, so these are awesome for me.


equipment needed:
silicone baking mats or parchment
rolling pin
baking sheets
mixing bowl
mixing spoon
measuring cups
measuring spoons

ingredients:

1 cup blanched almond flour
1 cup raw almond flour
1 cup tapioca starch
1 cup green pea flour
1/4 cup coconut flour

1 tsp sea salt
2 tsp chili powder
dash stevia powder
1 tsp baking soda
(optional 2 tbsp nutritional yeast)

4 tbsp coconut oil

1 cup water
2 tbsp apple cider vinegar


directions:

1. combine in order listed -- work the coconut oil in using a fork before adding the water
2. roll flat on 2 pieces of baking parchment or 2 silicone baking mats
3. place on baking trays and score with a plastic spatula or something like that to make lines along which to break after baking
4. bake at 345 for 30 minutes
5. bake at 200 for 60 minutes